Hand Laying Track

As part of the next stage of my testing before the big layout build, I want to lay a bunch of track by hand to see how much work it entails, and evaluate it from cost, performance, and appearance standards.
First up though, is a small mini-test section. Here's what I've gotten done so far.
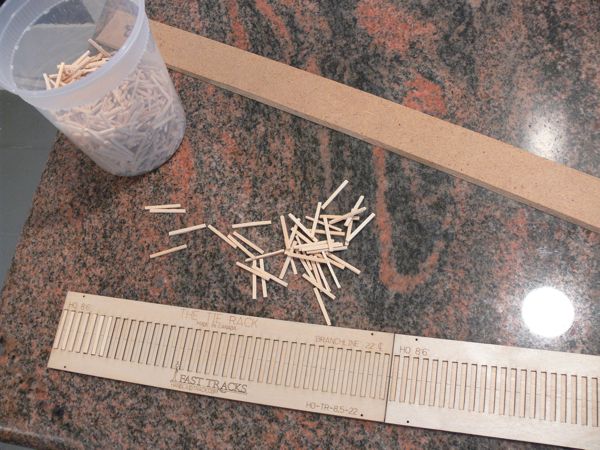 |
Materials/Tools in this picture
|
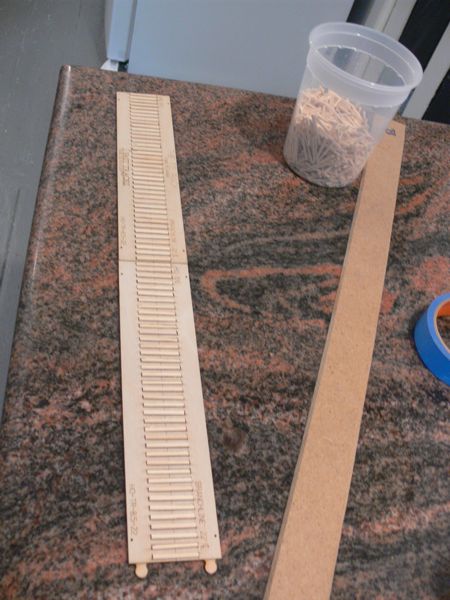 |
Ties go in the jig. |
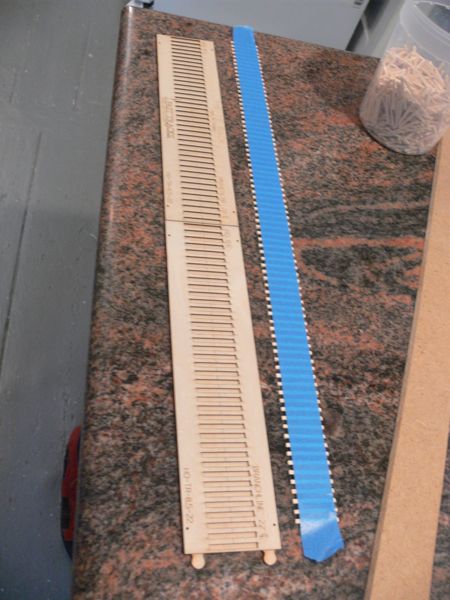 |
and a piece of painters blue tape is applied, than the whole thing gets pulled carefully out. |
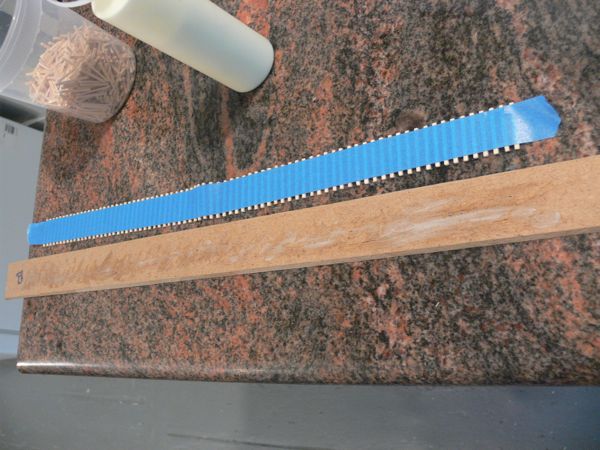 |
just a little (as you can see) yellow carpenter's glue is applied |
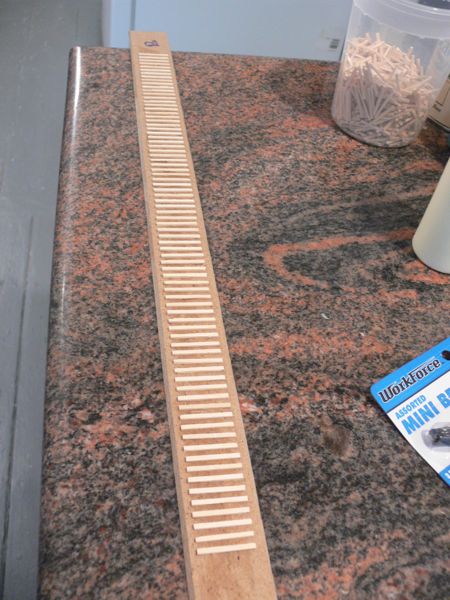 |
And then the ties go down. After the glue had set for an hour, I carefully pulled the tape off. |
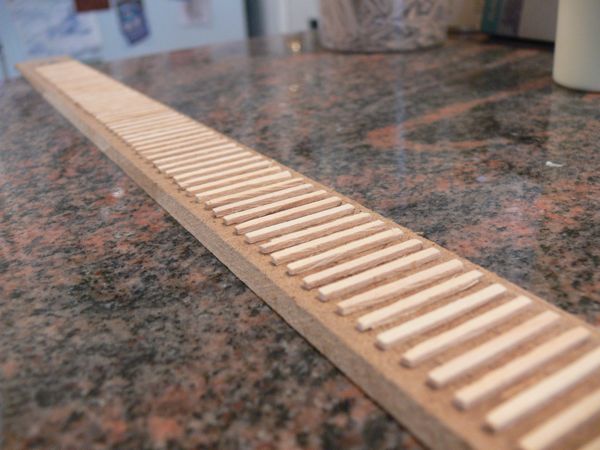 |
Ok, this is looking pretty good so far. |
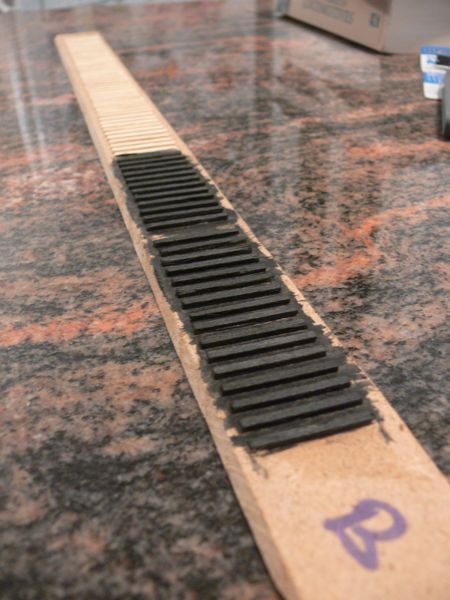 |
Some people recommend dipping the ties in advance, others say to do so after they are glued down. I thought I would try the latter. This picture shows some of the ties after just one coat of the Minwax stain. Materials added:
|
So I'm not satisfied with the tie color, I think it's too black.
I removed one tie to show myself where the "break" is - the first set I'm leaving untouched, the second set I want to drybrush brown over.
The next set of ties will be stained with a black/brown mix. I want a bunch of sections to determine what looks best.
>> Posts index
Navigation
Journals/Blogs
Recent Blog posts:
Comments
Push a spike into the MDF
I know that the MDF I know you have to be Hercules to push a spike through the MDF !!!
Nick Biangel
USMC
Pushing spikes
Yes, that is what I was thinking too. I'd sooner try pushing spikes into oak plywood, I think it's softer than MDF!
Popeye
Well, I do eat my spinach.
Chris, thanks for that link, but I've bookmarked it from when you've posted in the past.
looks good so far
When ever I've stained ties I've used Jacobean stain. I gives a nice dark brown color. Those jigs from FasTrack are really slick. I got a #6 N scale turnout jig a couple of years ago and have been very satisfied with it.
E
back to the Homasote drawing board
So on to the homasote.
As Chris pointed out, there is a great set of instructions on how to make your own homasote roadbed on Craig Bisgeir's web site. The commercial homasote road bed is very expensive, as high as $1 per linear foot, and a 4 x 8 foot sheet of 1/2 inch homasote cost me just $22 at our Home Depot.
I had the guys at HD cut my panel into 3 32" wide sections, as this made it much easier to transport. I than whipped out the table saw, and started cutting. They weren't kidding that this stuff makes a horrible mess - the dust is incredible. I did mine outside, and it still made a horrible mess. Wear a mask!
I was able to pull up the top layer of MDF easy enough with a putty knife. Some foam tore, but not too much. To start this round of the hand laying test, I glued a strip of the homasote roadbed to a strip of foam.
A closer look. The homasote was cut into 4' long strips, than "thinned" into 1/4" think sections, and than the sides beveled on the table saw.
I used the pulled up MDF sections as a template for the homasote. Note that I just covered the area with a full piece of 1/2 inch homasote, cut to fit.
This is the mainline roadbed put on top of the yard area. This is the 1/8' thick piece you get when you rip the 1/4" road bed sections, also with beveled edges.
Craig Bisgeir suggests using these 1/8" sections for sidings; in this case I'm using it for the mainline on top of the stock 1/2" homasote sheet. Once the tracks leave the yard, I'll go back to a 1/4" main line roadbed.
The rail crew has been busy.
You'll be covering the
You'll be covering the shoulders with ballast too, once you put the track in place? :D
---------------------------------------------------------------------------------------------------------
Benny's Index or Somewhere Chasing Rabbits
Yes, Benny
Yes, Benny. You've mentioned this before, and thank you for the reminder, but with the short test section, I'm not bothering with the shoulders.
Beautiful job on the
Beautiful job on the rail ties!! that stain looks great with the ballast. makes me want to do the same on my N layout...
Jeremy T.
my only comment is the track
my only comment is the track rail nails seam a bit large. but that may be do to the lack of ballast on the outer edges. have you run a car up and down the test tracks?
other then the looks in the photo of the nail heads you have done a fine job
Rio Grande Dan