Benchwork - Roadbed

Layout Update Mid-May 2015
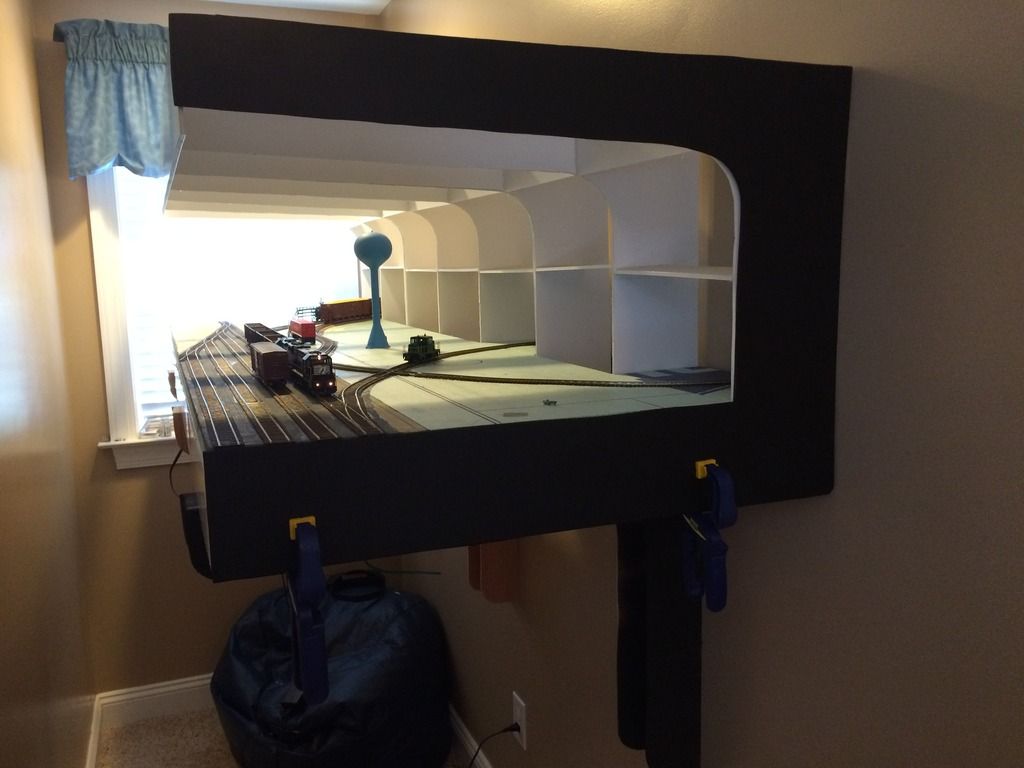
Construction on the ATSF Paradigm Division has been progressing slowly over the last month or so. I have been working on power district # 4 near the west helix for the past month or so. All of the track, turnouts, and wiring has been installed for Michaelson Jct. (simulates Ottawa Jct., KS) , the branch line over the top of the west helix to Michaelson, and Michaelson (simulates Ottawa, KS). Additionally, all of the sub-roadbed (plywood) for the peninsula has been installed and all of the cork roadbed has been glued down and painted with the dark base color that I have been using.

Port of Morehead City- Long Overdue Update

It's been far too long since my last update. While work on the layout has been moving at an absolutely glaical pace for the past several months, this last week I've been working feverishly to get some work done. The main thing I've accomplished since the last post was the completion of the trackwork.

[GWMS Model Railroad Club] Help With Yard
Well I am looking for help now with some wiring. I am working on getting a switch module (see image). We will most likely be making a yard module and I was wondering if anyone had suggestions for blocks. The yard blocks would be separated by track and run by the sam power pack as their respective tracks. If we were running DCC this wouldn't be a problem but we have DC if anyone could help please do. Thanks in advance, Trainmaster247.

Car card boxes on curved fascia
I am beginning to design fascia-mounted car card holders and many of them need to be at locations where the fascia is curved (1/8" Masonite). I have seen many designs of card card holders that work beautifully on straight fascia. But what about curved fascia? My fascia radii are about 15-30".
Scribing and cutting the back of the holder to match the fascia radius sounds tedious and fraught with peril. I'm hoping many of you have other ideas.

Backdrop Construction - will this work?
Hi all,
I'm preparing to put the backdrops in on my Bradford Valley Lumber Co. layout, and I'd like to get your thoughts on how I'm planning to do it.
I'm planning to use 4.8mm (1/5") thick masonite, secured at each of the crossmembers, which are approximately 1' apart.
At the rear of the backdrop, a 12mm (1/2") plywood support will run up the entire height of the backdrop. These will be screwed directly to the frame. At the front, below the ground level, L-brackets will secure the masonite to the crossmembers - they'll be screwed along the top.

Basic Power Tools for Framing
Many modelers have little space and even less area to use as a work space. When building even a small or modular layout this lack of resources can present a problem. The home supply store can precut your lumber, but not always to your exact needs. Sometimes you only need a single cut. Also, in most layouts & modules, holes are needed for various reasons. Tools can be used in your living space. but can create a mess. With a set of cordless power tools many outside areas can be used for cutting and assembling a layout frame.

GWMS Model Railroad Club
- Dream and design
- Modeling topic
- Layout design
- Layout tour
- Benchwork - Roadbed
- Trackwork
- DC - Electrical
- Locos - Rolling stock (general)
- Steam locos
- Diesel locos
- Scenery - Structures
- Operations
- Layout maintenance
- Tools, tips and tricks
- Community
- Photo inspiration
- Personal journal (editorial or commentary)
Hi I am sure most of you have seen my past posts on the Model Railroad Club and had a suggestion to combine them all into one so this is where I will move all past posts and future ones so they can be easily found. If anyone has any other suggestions feel free to post them in the comments or PM me thanks again to all of you people who have helped and are following my posts.
Pokey Progress: Upper Deck
Summer has come and unfortunately work on my layout has slowed down considerably. I'll be posting here every once and a while though, just to keep you up to date on any construction progress that does get done on my upper deck.
Paul Krentz
Free-lancing a fictitious portion of the N&W Pocahontas "Pokey" District

Alas
Alas and bother. While trying to the surviving portions of my old layout out of storage, I found that Module #1 is beyond salvage. The only survivors are modules 9, 10, 11.
Module 1 was the only 1 left with blue foam, so, now I don't have to try and salvage that part, and the track had to be ripped up and relaid anyway, due to the bad design of the s curves.
The bad news is that it was the module for the covered bridges, so I will have to rebuild it eventually.

Workbench lighting
I am in the process of building a new layout and a new workbench.
On my old workbench I had the swing arm lighting, but it always seemed to get in the way or the light was pointed in the wrong direction. I have considered a long florescent tube, but there is no shelf or structure above the workbench (This time the workbench is in a spare bedroom where I have to keep it neat.)
I am looking for suggestions on which lighting you use on your workbench, good, bad, and not so ugly.
Thanks Bill.
>> Posts index
Navigation
Journals/Blogs
Recent Blog posts: